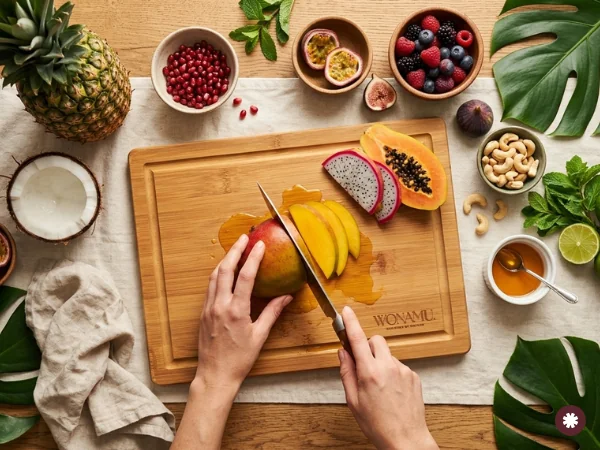
There are two grips that matter in a home kitchen. The knife hand uses the pinch grip: thumb and the side of the index finger pinch the blade where it meets the handle, and the other three fingers wrap the handle. The guiding hand uses the claw: fingertips curled under, knuckles forward, so the flat of the blade rides against the knuckles and never meets a fingertip.
Learn these two and almost every cut becomes steadier. Many of the slips, wobbles and nicks that make people nervous with a knife come from holding it the way you would hold a hammer.
Why the handle grip fails
Most beginners wrap all four fingers around the handle and rest the thumb on top or on the side. It feels secure, but it puts the hand far behind the blade. Control at the tip falls off, the wrist does the steering, and the forearm tires fast.
Two other habits are almost as common. One is the index finger stretched along the spine of the blade, which feels precise and gives very little lateral control. The other is the thumb on the spine, pressing down. Both let the blade twist when it meets something firm, like a carrot or a squash, and a twisting blade is the one that slips.
The pinch grip, step by step
Find the balance point. Lay the flat of the blade across your index and middle fingers. On most chef’s knives it balances close to where the blade meets the handle, at the bolster or a little in front of it.
Pinch there. Place the pad of your thumb on one side of the blade and the side of your bent index finger on the other, both a fraction ahead of the handle. Keep them toward the middle of the blade’s height, not down near the edge.
Wrap the rest. Middle, ring and little fingers curl around the handle, relaxed but firm. Squeezing hard is not the goal; the pinch does the steering and the fingers keep the knife from rotating.
The first few days feel odd, and the index finger may get sore where it touches the blade. That passes. After a week, the knife feels like an extension of the hand, and the tip goes where you look.
The claw grip, step by step
The guiding hand does as much work as the knife hand, and it is the one at risk.
Curl the fingertips. Rest the hand on the food with fingertips tucked under and pulled back, so the first knuckles stand forward like a small wall.
Tuck the thumb. The thumb sits behind the fingers, holding the food from the back, never sticking out to the side where the knife can reach it.
Let the blade ride the knuckles. The flat of the knife touches the knuckles lightly on every stroke. The edge cannot reach a fingertip that is behind the knuckle.
Walk the hand back. After each cut, slide the claw back by the width of the next slice. The spacing of your knuckles becomes the spacing of the cut. Uniform slices come from a steady claw more than from a careful knife.
The knife should never rise higher than the knuckles. Keep the tip of the blade on the board for most cuts and lift only the heel. That rocking motion keeps the edge low and predictable.
Practice on the right food
Start with something large, stable and cheap. An onion halved and laid flat, a peeled potato squared off on one side, or a zucchini cut in half lengthwise. Round food rolls; flat food stays put. Always create a flat side before cutting, and the claw has something to hold.
Practice slow. Ten even slices at a walking pace teach more than fifty fast ones. Speed comes on its own once the grips stop needing thought. Practicing the five basic knife cuts with these grips is the fastest way to build the habit.
What makes the grips work
A sharp knife. A dull blade needs pressure, and pressure is what makes a knife jump. A sharp edge falls through an onion with almost none. How to sharpen a knife at home is worth reading before practice.
A board that stays put. If the board shifts as you cut, both grips lose their reference. A damp towel underneath stops the slide, and why your cutting board slides explains the trick and a few others.
Room to work. Crowding the board forces the guiding hand into awkward angles. Clear finished food to one side as you go. A WONAMU. bamboo cutting board at 12 × 9 inches gives a working area for the vegetable and a margin at the far edge for what is already cut.
Good height. If the counter is too high, the shoulder lifts and the wrist bends. If it is too low, the back curves. Stand square to the board with the knife arm relaxed at the side; the forearm should sit roughly level as you cut.
When to break the rules
The pinch grip is for the chef’s knife and the santoku. A paring knife used in the hand for peeling an apple or hulling a strawberry is held differently, close to the blade with the thumb guiding from the other side. A cleaver for heavy chopping is held further back on the handle so the weight does the work.
For the guiding hand, the claw is the rule for slicing and dicing. Mincing herbs or garlic is different: the free hand rests flat on the spine of the knife and rocks it over the pile, nowhere near the edge.
Children can learn the claw as soon as they can hold a butter knife. Teaching kids to use a knife covers the order to teach it in.
The short version
Knife hand: pinch the blade at the balance point with thumb and index finger, wrap the other fingers on the handle. Guiding hand: fingertips curled under, knuckles forward, thumb tucked behind, blade riding the knuckles. Keep the knife sharp, the board steady, and practice slow until it stops feeling strange.
❋
WONAMU. makes a bamboo cutting board designed for daily prep, 12 × 9 inches, bamboo, with a perimeter juice groove. Available on Amazon.
Designed by nature.